How to schedule a Hop & manage schedules
A tutorial on using the platform for scheduling Hops.
Salima Nadira
Jun 17, 2025
Getting Started
Scheduling a Hop
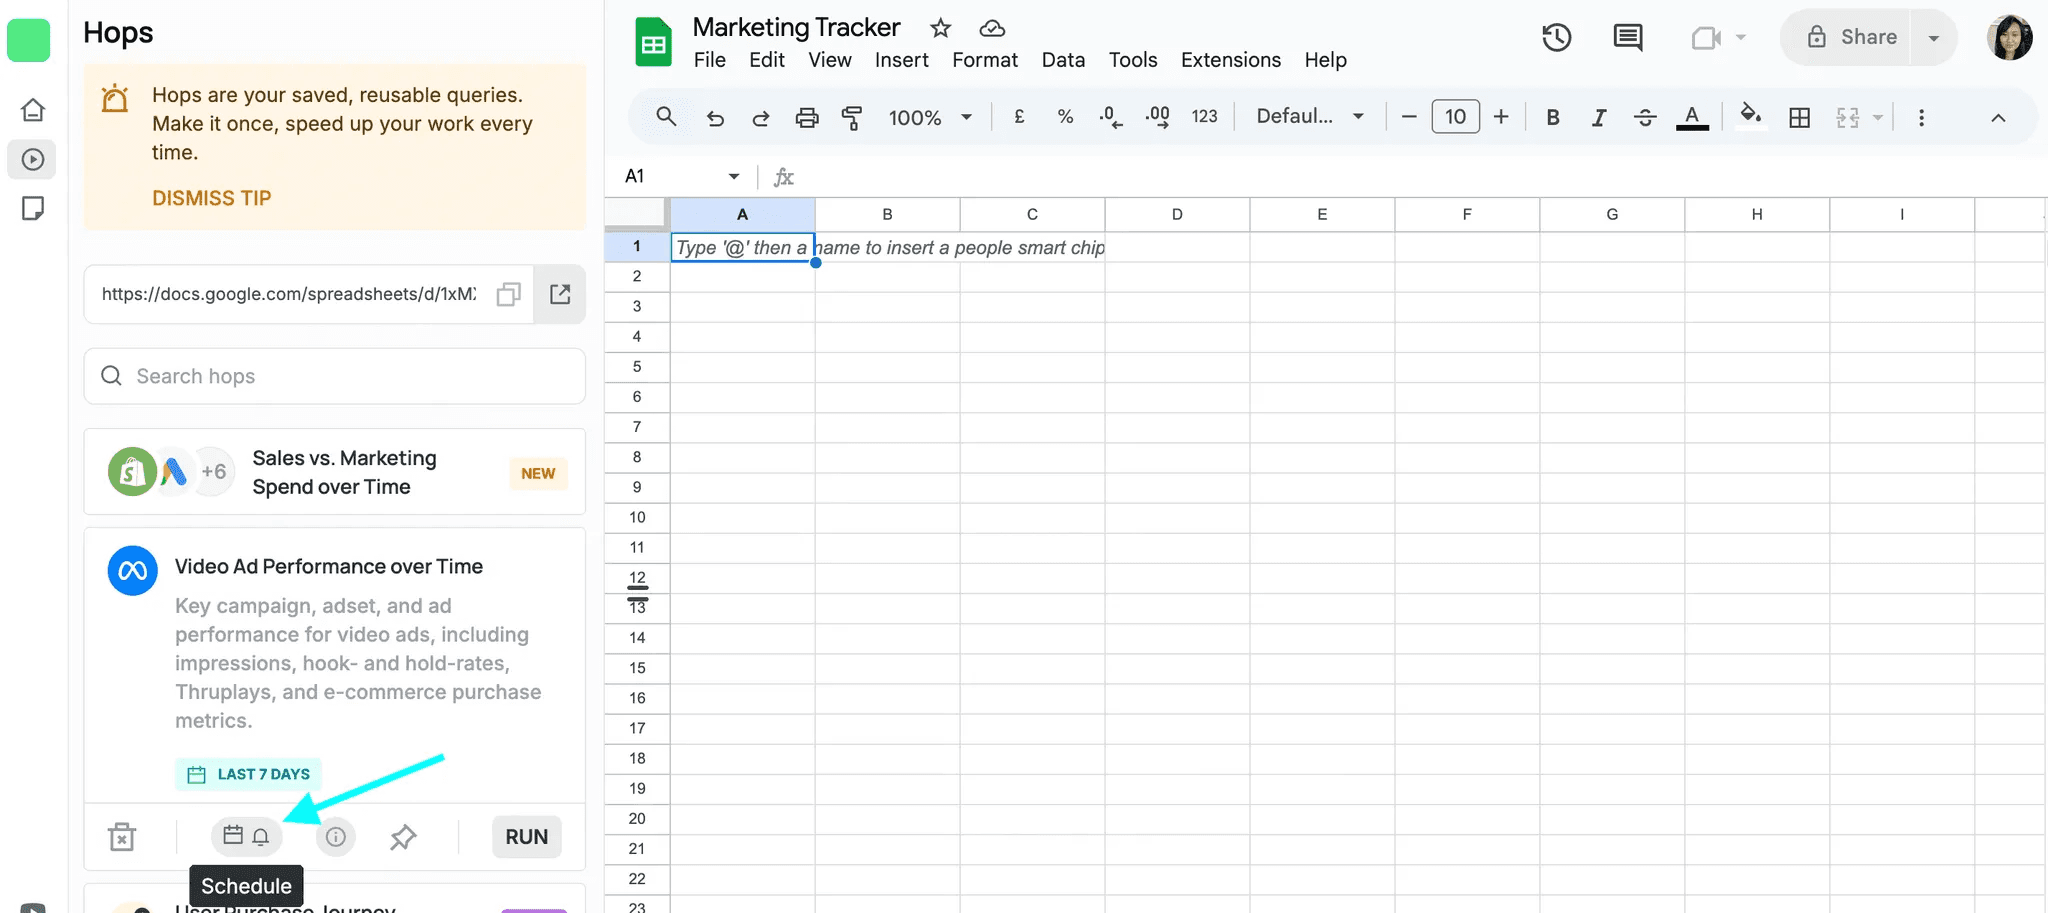
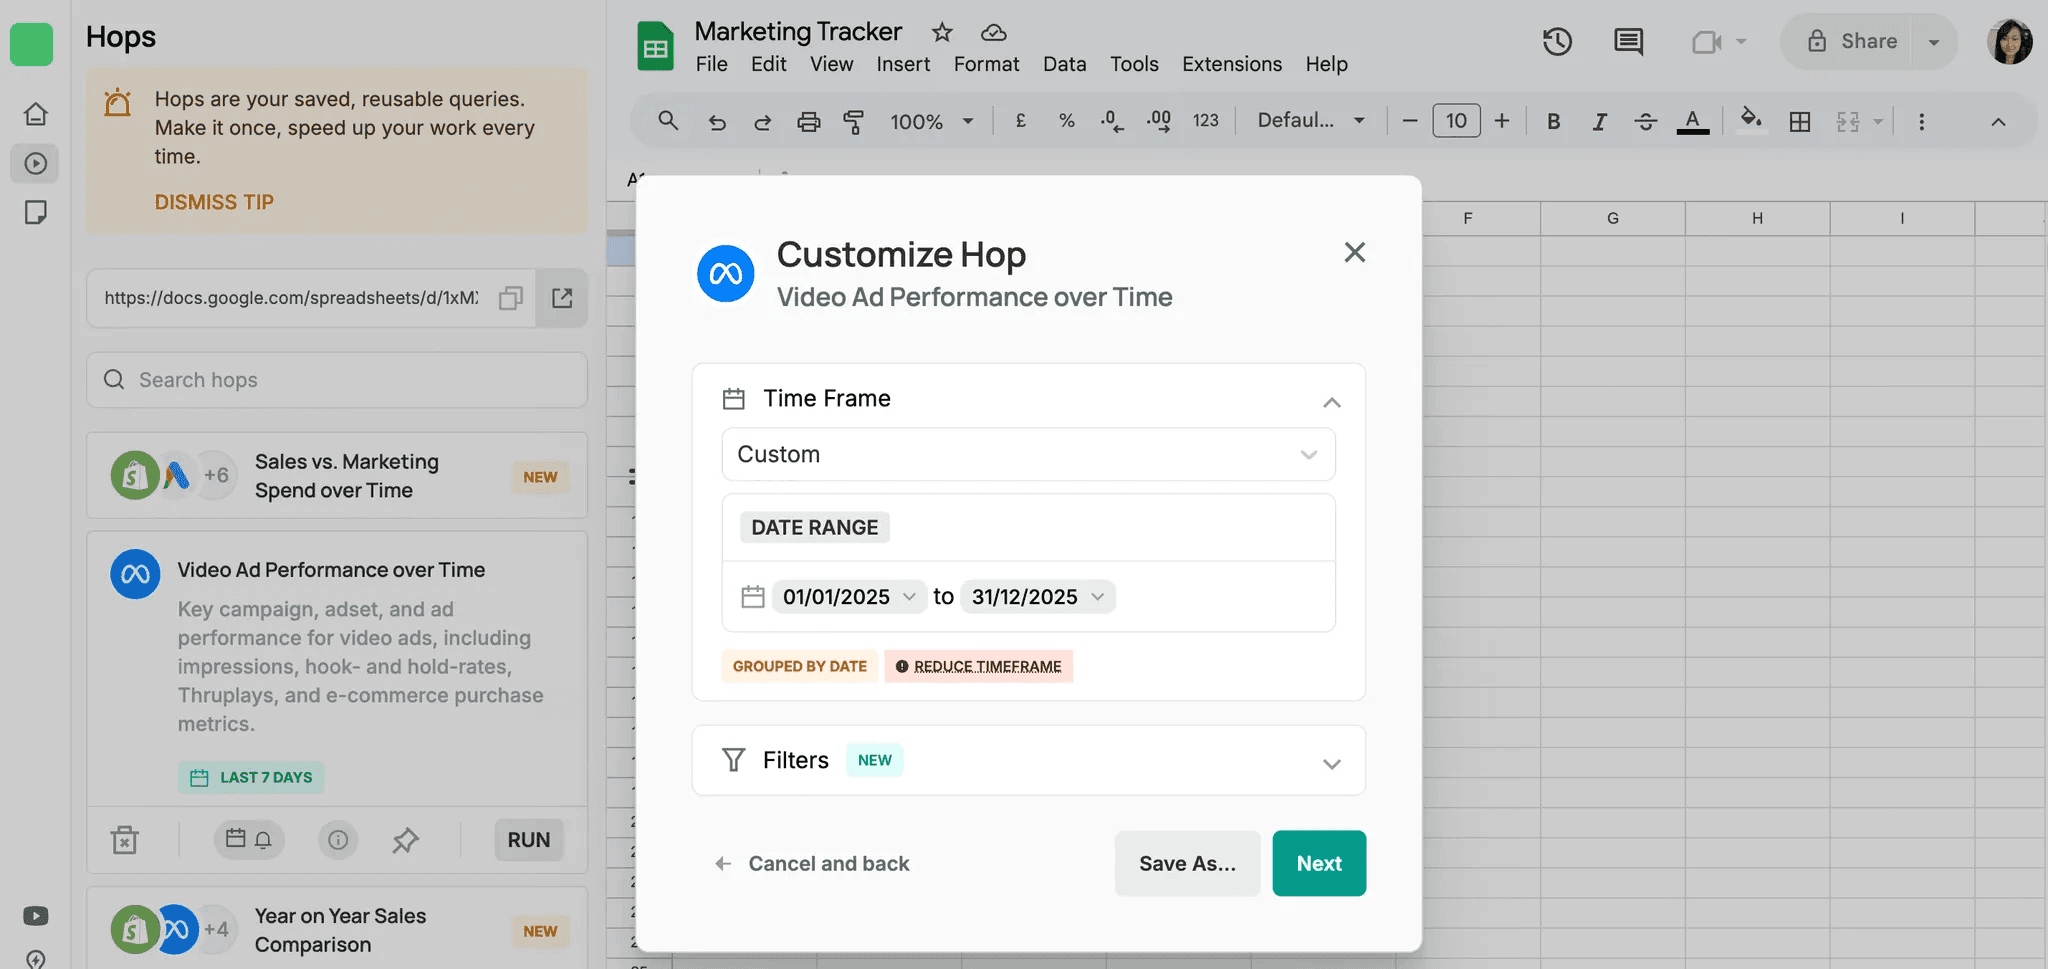
Before scheduling, note you first need to run the Hop normally. The schedule will take the customizations set during the Hop run.
The schedule button is the calendar and bell icon on the Hop card:
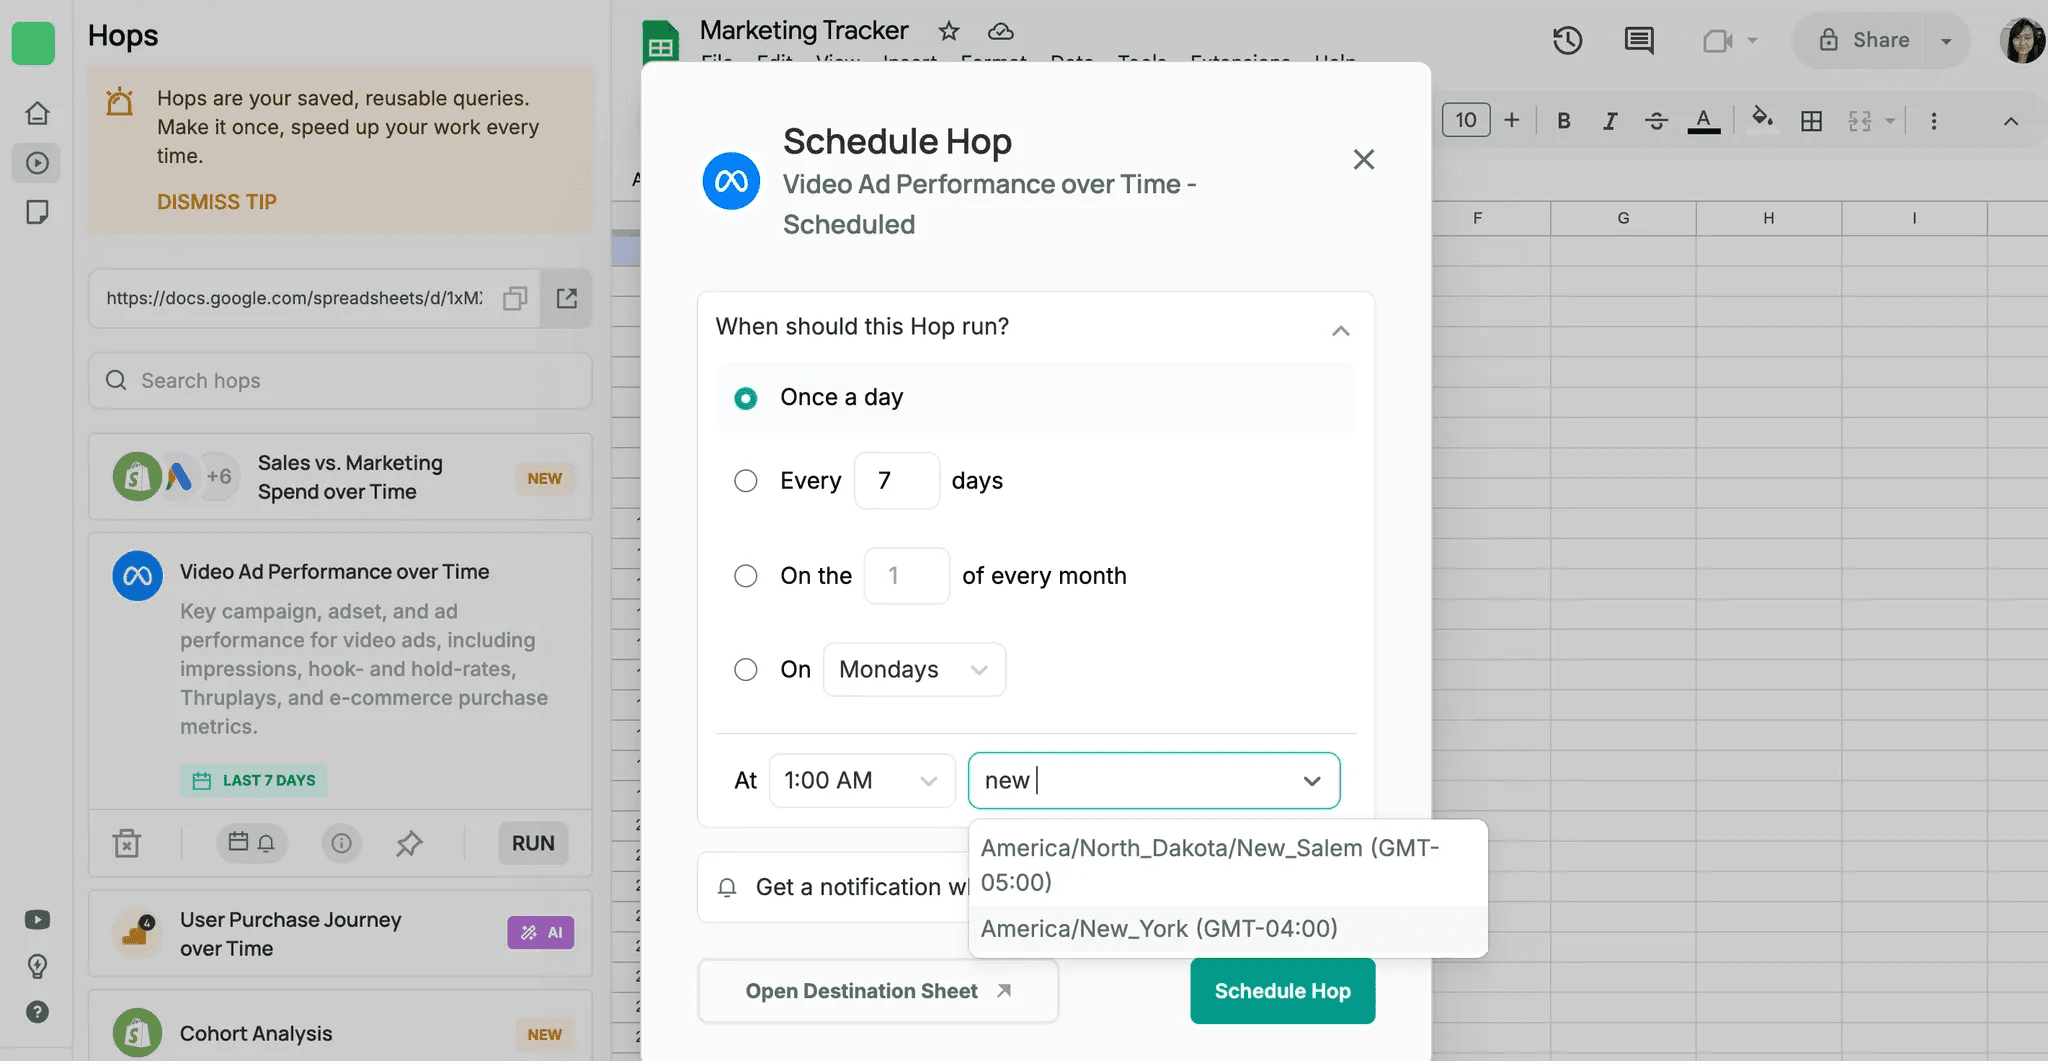
You will be asked to save your schedule so you can come back to it later. We suggest renaming it with timeframe (e.g. ‘2025’) or filter (e.g. ‘Amazon campaigns’).

Run your Hop according to your preferred schedule and timezone. We suggest running it at night, so it’s ready for you in the morning. You can also set an email notification.
A great use case for scheduling is to create a yearly tracker. For smaller stores with not too much data, you can select a custom timeframe spanning an entire year, including into the future. If you have successfully run a Hop for this timeframe, this is a great way to schedule a Hop that runs every day or week for the whole year, allowing you to maintain a daily / weekly / monthly tracker.
You can also talk to us via chat about the best way to set up your tracker view, or scroll through our template examples for inspiration.
Managing your scheduled Hops
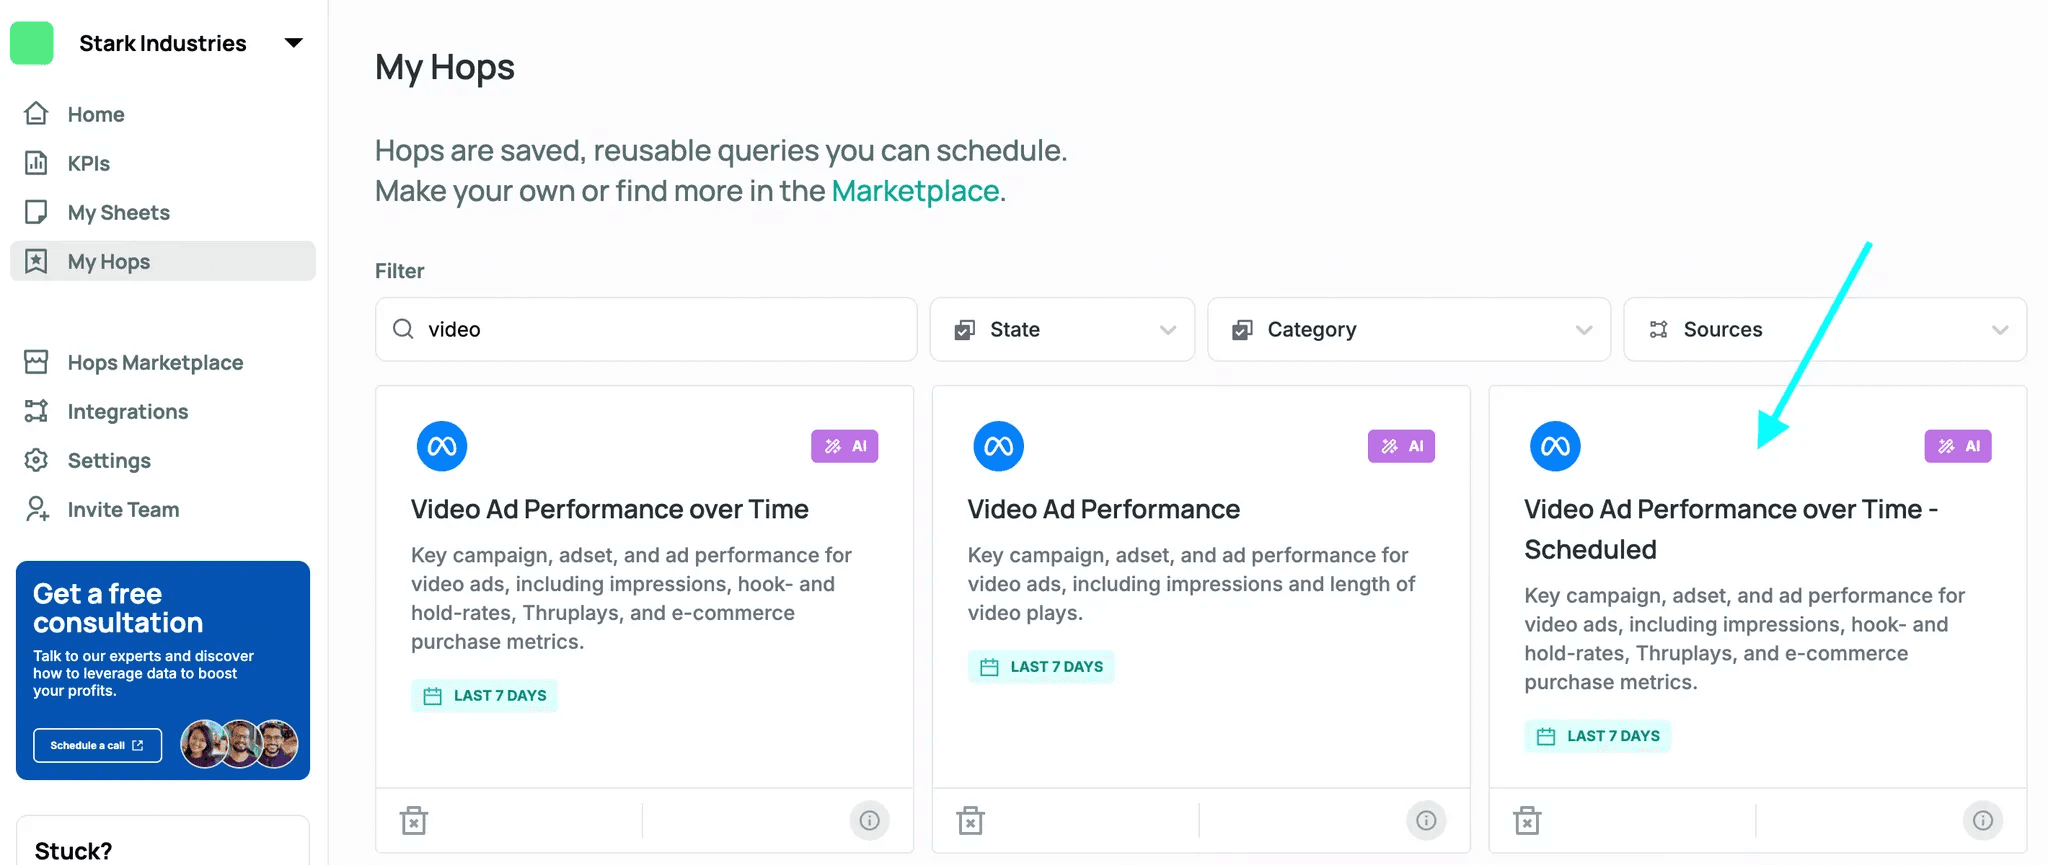
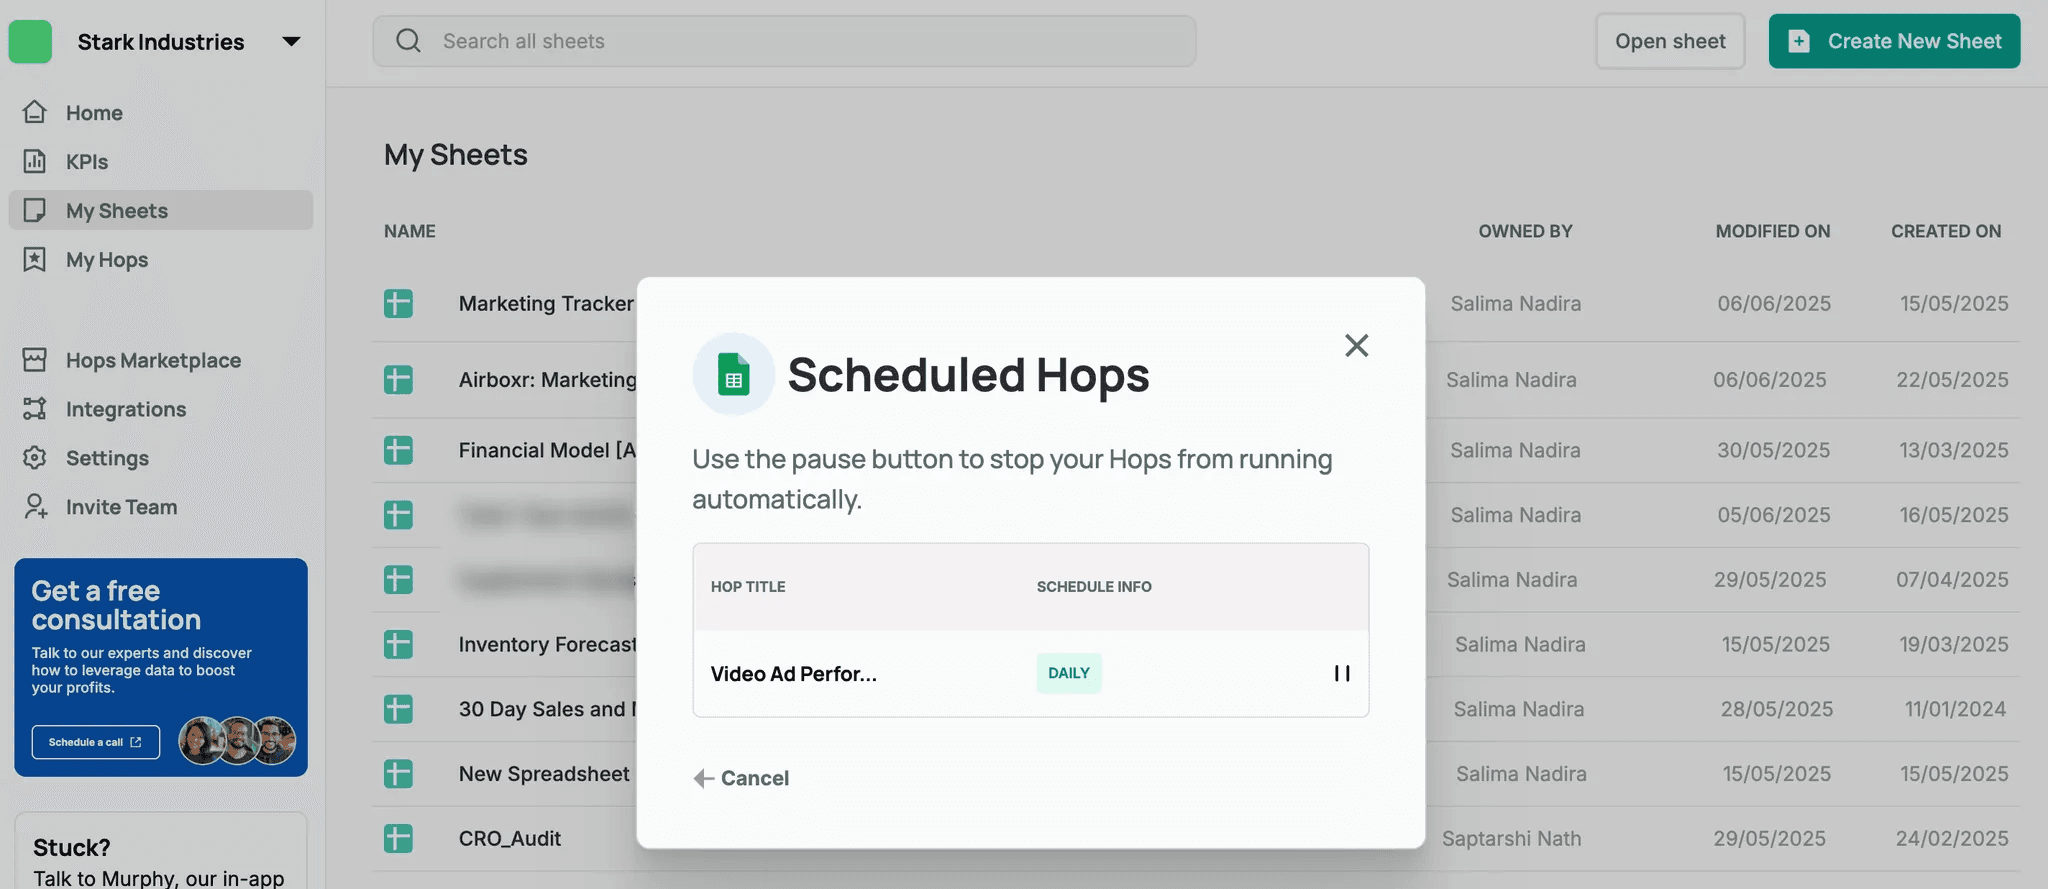
You can find your saved scheduled Hops in My Hops. This saves your schedule settings, so you can run it again if you ever pause your schedule.
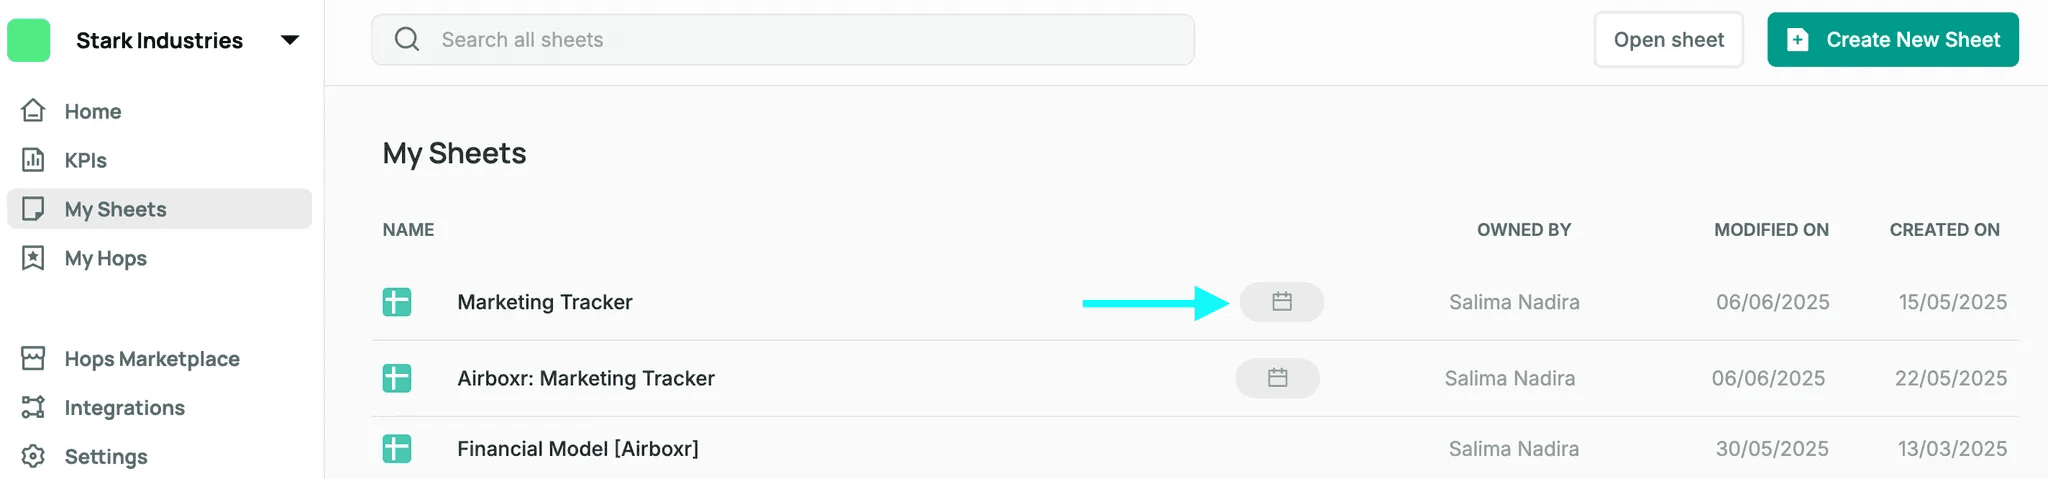
You can check which sheets have scheduled Hops on them from My Sheets:
From there, you can pause schedules, or continue paused schedules.
If you want to run the same Hop with the same settings on a new sheet, you can select your saved Hop again in My Hops.